Growing Microgreens
Nutritious and punchy in flavor, microgreens have taken the spotlight in the culinary world in recent years. But are they worth the hype? We say yes! Luckily, you don’t have to spend a fortune on them at your local co-op—they’re easy to grow at home!
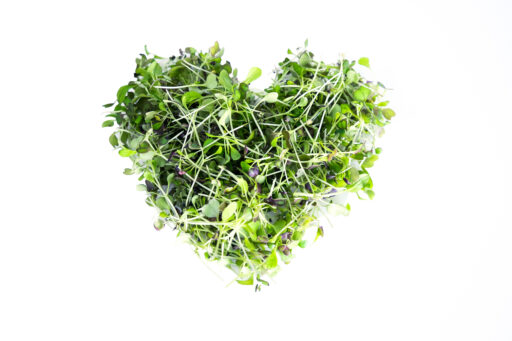
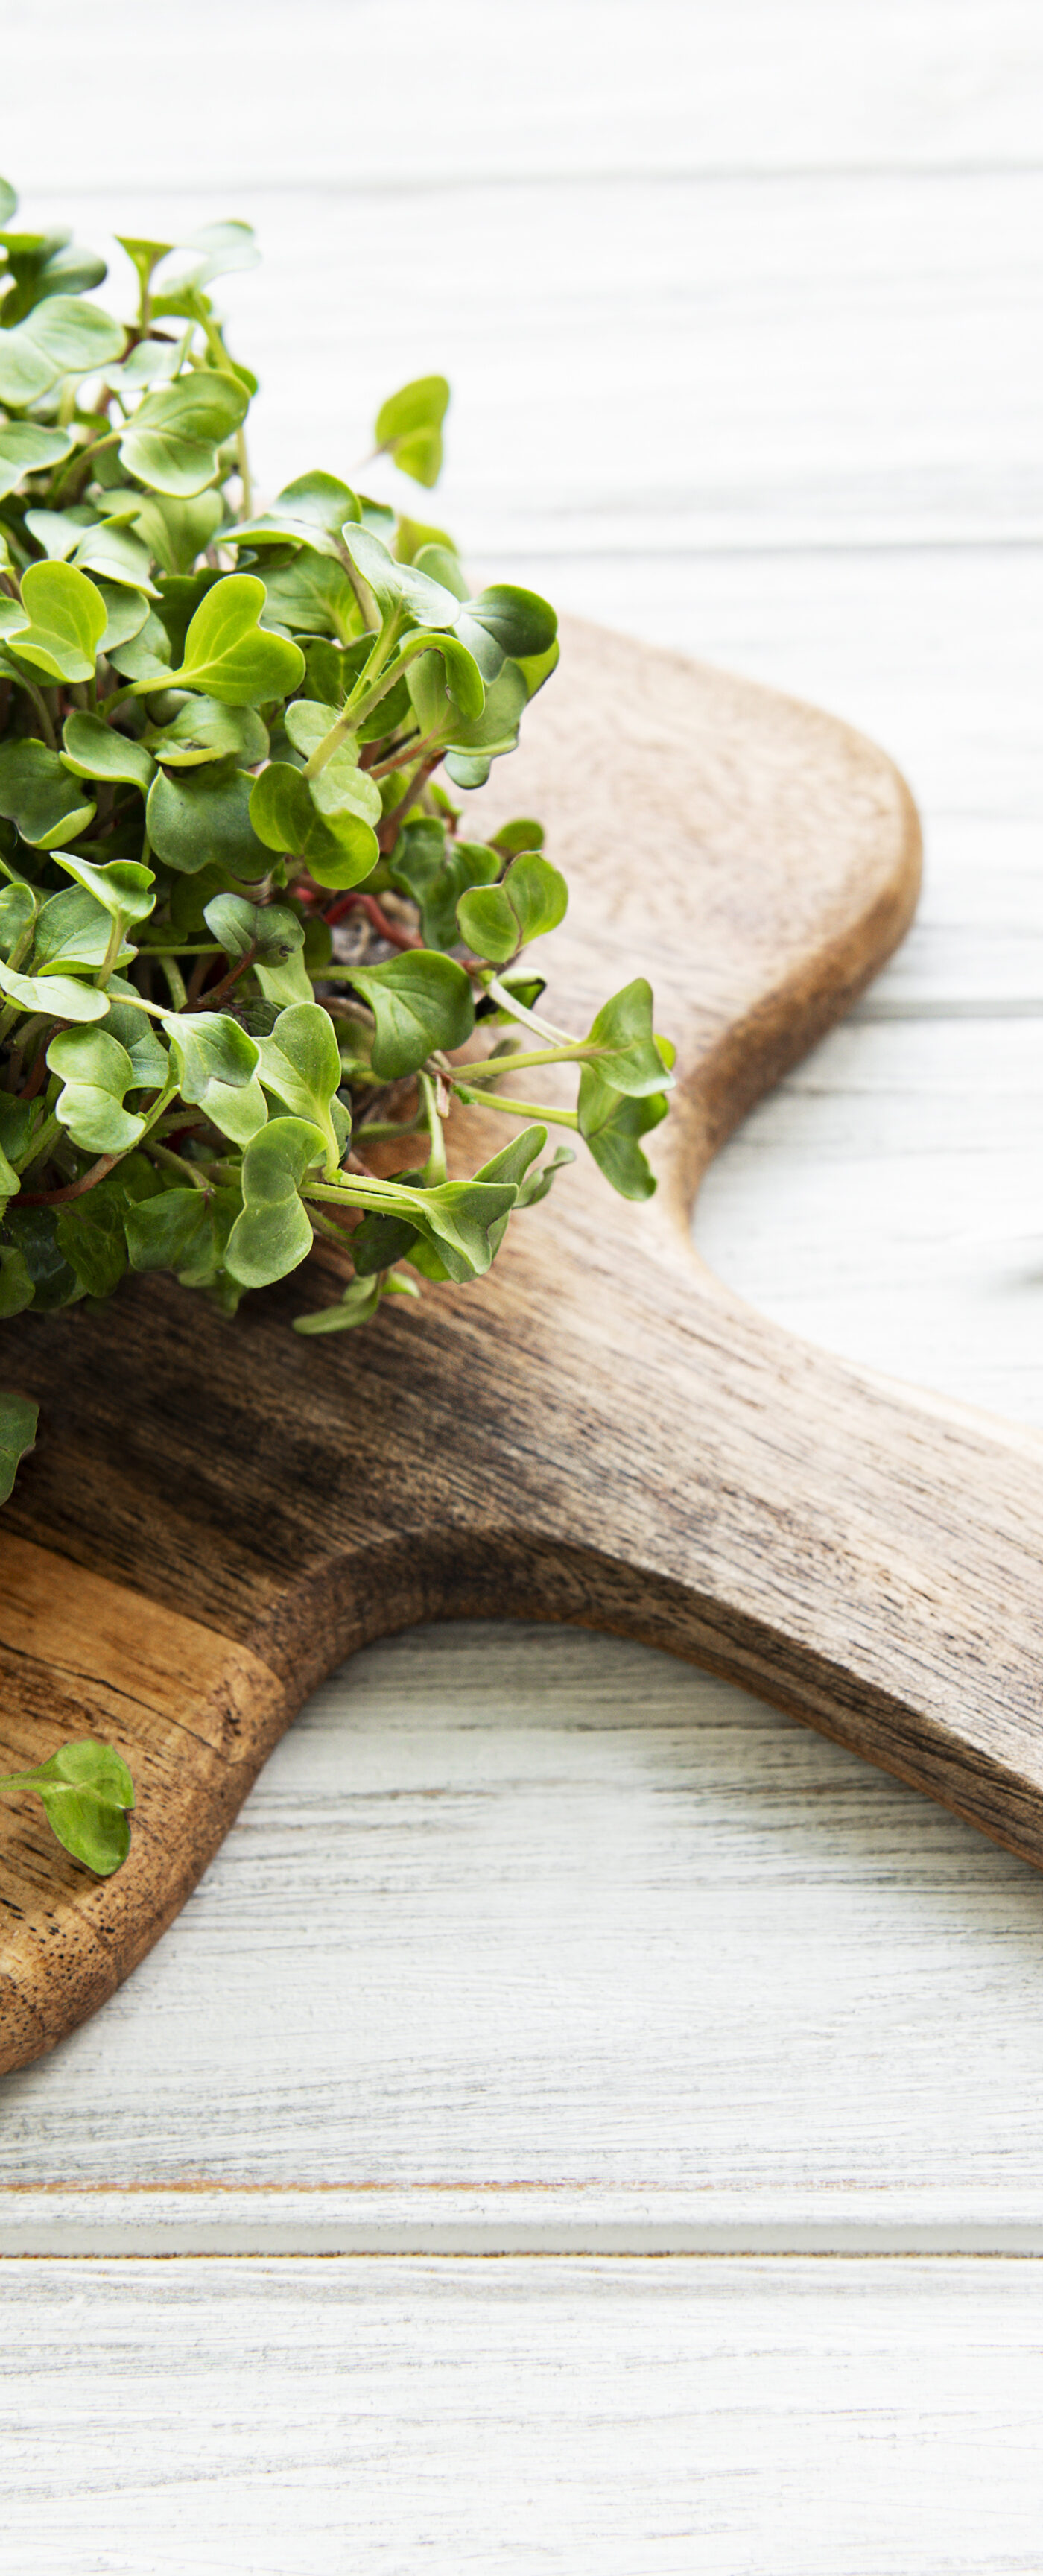
What exactly are microgreens, you ask? Microgreens—not to be confused with sprouts, which are germinated seeds of which you eat the root, seed, and shoots—are edible immature greens densely grown in soil or coconut coir and harvested less than a month after germination when the plants are up to two inches tall.
Microgreens are incredibly nutritious. Amazingly, they’re packed with more nutrients than their full-grown counterparts! Our family loves growing arugula, leaf lettuce, and radish microgreens.
To grow microgreens, you need:
plastic boxes
soil or coconut coir
leafy vegetable seeds
spray bottle for watering
If this is your first time growing microgreens, you can find the seeds, soil, and the smart boxes I sow in at most gardening stores. You may even have trays to put the seeds in stashed at home.
Which vegetables can you grow as microgreens?
You can use any leafy vegetable you grow outdoors, as well as some others. Here are some suggestions:
Lettuce
Kale
Broccoli
Spinach
Parsley
Arugula
Pak choi
Radish
Beetroot
Basil
Peas/pea shoots
Broad beans
Parsley
Oregano
The list is in no way exhaustive—feel free to experiment to see what other microgreens you can grow!
How to grow microgreens:
- Fill the plastic trough almost halfway with soil or coconut coir (how to use coconut coir).
- Scatter the seeds densely over the soil
- Sprinkle some soil over the seeds
- Place the seeds in a window or, even better, under a plant light
- Mist greens twice a day with a spray bottle.
Microgreens need about four hours daily of direct sunlight to thrive. You may need a grow light in the darker months if you don’t have access to natural light.
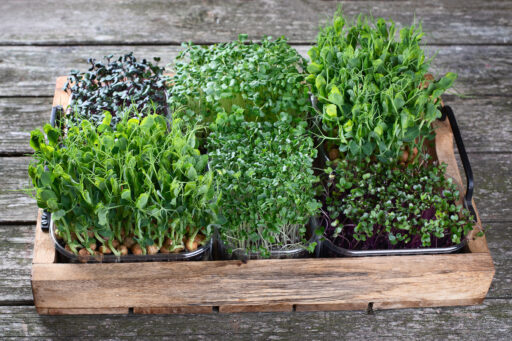
The troughs pictured were sown and then placed in our office. It has been frigid lately, but the microgreens can withstand the cold well and have grown beautifully. There are a total of three trays, each with spinach, broccoli, and peas.
Harvest
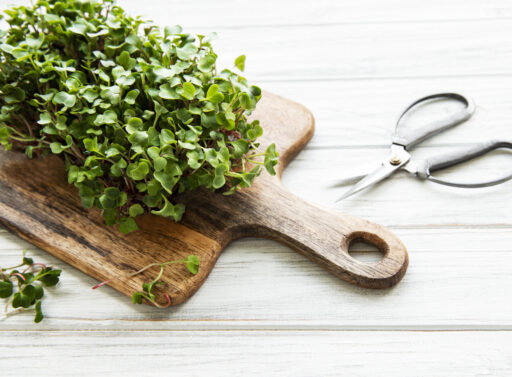
When is it time to harvest?
Only you can decide! If you want to eat small leaves, settle for a size similar to the troughs in the pictures above. It’s also fine to wait a little longer and harvest the leaves when they are slightly larger, but 4-6 weeks after sowing is usually enough.
A few considerations—
The longer the vegetables are in the tray, the greater risk of turning yellow. This is a sign of nutritional deficiency. Planting soil contains enough nutrients for the start of the plant’s life. After a bit, you have to replenish nutrients. The easiest way to avoid this is to harvest the plants before they have depleted the soil.
It may seem strange that such small plants suffer from nutrient deficiencies, but we are growing plants densely in a small amount of soil, and they compete for nutrients. That’s simply how the system works.
Happy growing!
If you have no garden to grow food in or you’re living in a winter climate you can still grow food indoors and here are my tips for which vegetables to grow indoors.
Sprouts are super easy and cheap to grow yourself and here is my post about growing sprouts.