By Larraine Roulston:
The holiday season just wouldn’t be the same without children feverishly engaged in making Christmas crafts. This activity helps youngsters develop fine motor skills and at the same time creates pleasing pieces of art.
Most parents and teachers have a supply of toilet roll cylinders and empty egg cartons ready for this and other festive occasions. If you have a craft box filled with bits of ribbon, wool, felt, lace, as well as hooks, buttons, wine corks and old greeting cards, you have a head start toward encouraging children to use their imaginations to create tree, table and wall decorations. A spent light bulb, for example, can be covered with layers of paste and paper to make a papier maché ornament. A paper chain to hang on the tree or drape on a wall can be made from all types of colorful scrap paper. A wreath can be designed using corks.
Here are two easy-to-make projects and, when the time is right, they can be recycled.
Tin Can Lantern: Fill a tin can with water to a level just below the top edge. Put the can into the 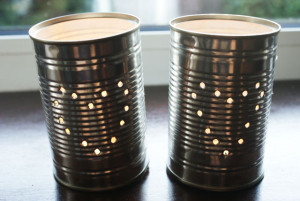 freezer until the water is frozen. The ice provides strength for the next step.
Draw a simple line design on paper, then wrap it around the can. Next, use a hammer and a nail to punch holes along the lines of your design. When finished, remove the paper. When the ice has melted, towel dry the can and put a short candle inside it. The light shines through the holes, outlining your pattern and making it a delightful little lantern. (Punching out random holes instead may also work well with your child.) You may wish to create two holes in either side of the top for threading a ribbon so the lantern can swing. This perfect craft idea is fun for children wanting to ring in the New Year.
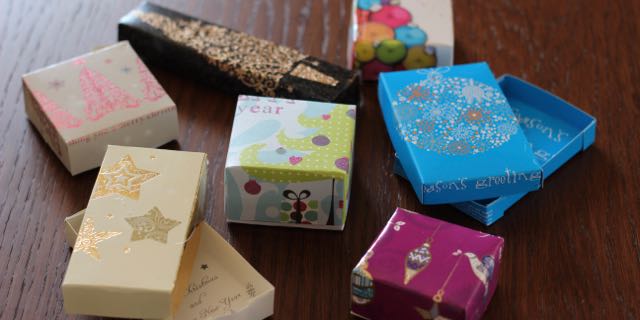
Tiny Christmas Boxes: Children love to make tiny boxes from the previous year’s cards. To make a box, 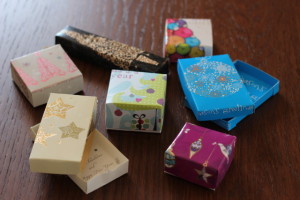 open a card and cut it in half along the fold, forming two rectangles. Mark an X lightly in pencil from corner to corner on the inside of both pieces. Fold all four sides to the middle of the X. Give each fold a nice strong crease. Open flat and cut along the two fold lines on the short ends (4 cuts per rectangle) to the other fold line. Repeat with the other half. Create the box by folding the two sides up with tabs and folding the end over. Depending on your card, that piece may fold over nicely without being taped down to hold the sides in place. The picture from the card is now the top half of the box and it is usually centered. The inside message may line up nicely, too. As a finishing touch, place a piece of tissue paper or cotton inside on the bottom.
Spend a bit of time looking for odds and ends for your child’s crafts. You will be amazed at their ingenuity in using items that otherwise would be discarded.
Larraine authors the Pee Wee at Castle Compost series, www.castlecompost.com.
