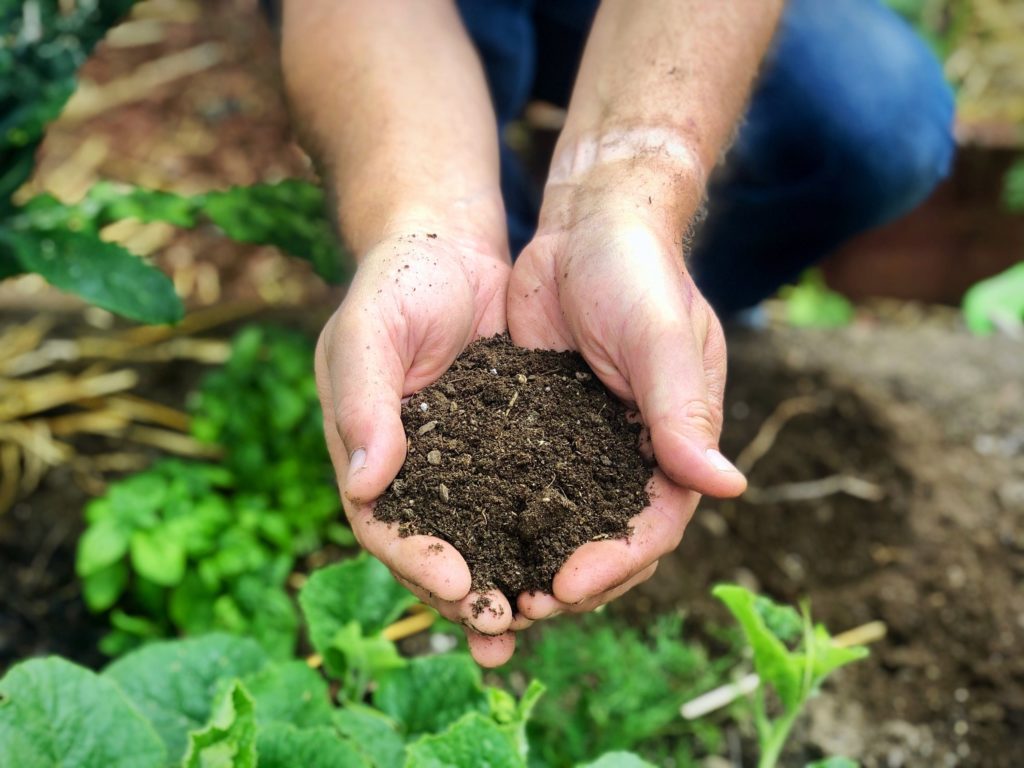
Composting is a great way to reduce your waste load and at the same time create something earth craves…pure nutrients. On our homestead we have four ways we compost: a worm compost, a garden compost, chickens and bokashi compost. Last week I hosted a composting for beginners class and after the class most of the participants leaned towards a bokashi compost and I understand because it’s our favorite way of composting too.
Here is our YouTube Video about bokashi composting:
Bokashi composting is basically a system that ferments organic matter. The result of this fermentation process is an end product different from worm compost. The first thing that really piqued my interest in Bokashi composting is that you can use all kinds of kitchen scraps, including dairy, meat and spicy food, which usually are a big no-no in worm composting since worms don’t digest that.
Things that can be added to the Bokashi compost are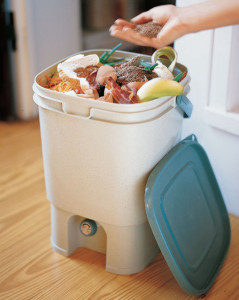
- Fruit and vegetables
- Prepared foods
- Cooked and uncooked meats and fish
- Dairy
- Eggs
- Bread
- Coffee grinds
- Tea bags
- Wilted flowers and tissues
Another thing I really like about Bokashi is that it’s faster than traditional worm composting, as the process is completed in about five weeks rather than many months.
To get started, all you need are
▪ Kitchen scraps
▪ Bokashi mix (see below)
▪ Bokashi bucket system
Bokashi is very low maintenance. All you have to do is mix the kitchen scraps in the Bokashi bin with some inoculated bran, press all of it into the Bokashi bucket, cover with some more bran and then cover tightly with a lid. Now, the fermentation process does not start decomposition inside the bucket; instead, it reduces in volume, thanks to the drainage of the waste water content. This liquid, called Bokashi juice, is loaded with live microorganisms. You just simply pour it out onto you garden for a great fertilizer. The juice does have to be diluted before being added to the garden:
- To fertilize an existing garden or pot, dilute 1 teaspoon of juice with 2-3 litres of water and apply directly to the soil.
- To fertilize trees or shrubs, dilute 2 teaspoons with 2-3 liters of water.
Once the bucket is full and has fermented for about 10 days, begin the second stage of the process by burying the pickled waste inside the bucket in a hole in your garden and mix in some soil. Make sure it’s completely covered. Now all you have to do is forget about it while it decomposes: the soil has begun to be enriched on a microbial level. In about 2-4 weeks, you can harvest the finished product that can be used in your garden.
